Panda Breath Gateway
A small DIY LAN bridge that lets 3D Spool Tracker control your BIQU Panda Breath chamber heater from the same /bambu page where you see your AMS state.
The gateway is an ESP32-C3 Supermini development board. Its only job is to forward heater commands from 3D Spool Tracker (cloud) to the Panda Breath's WebSocket interface on your local network — the Panda has no cloud API, so a LAN-side bridge is needed.
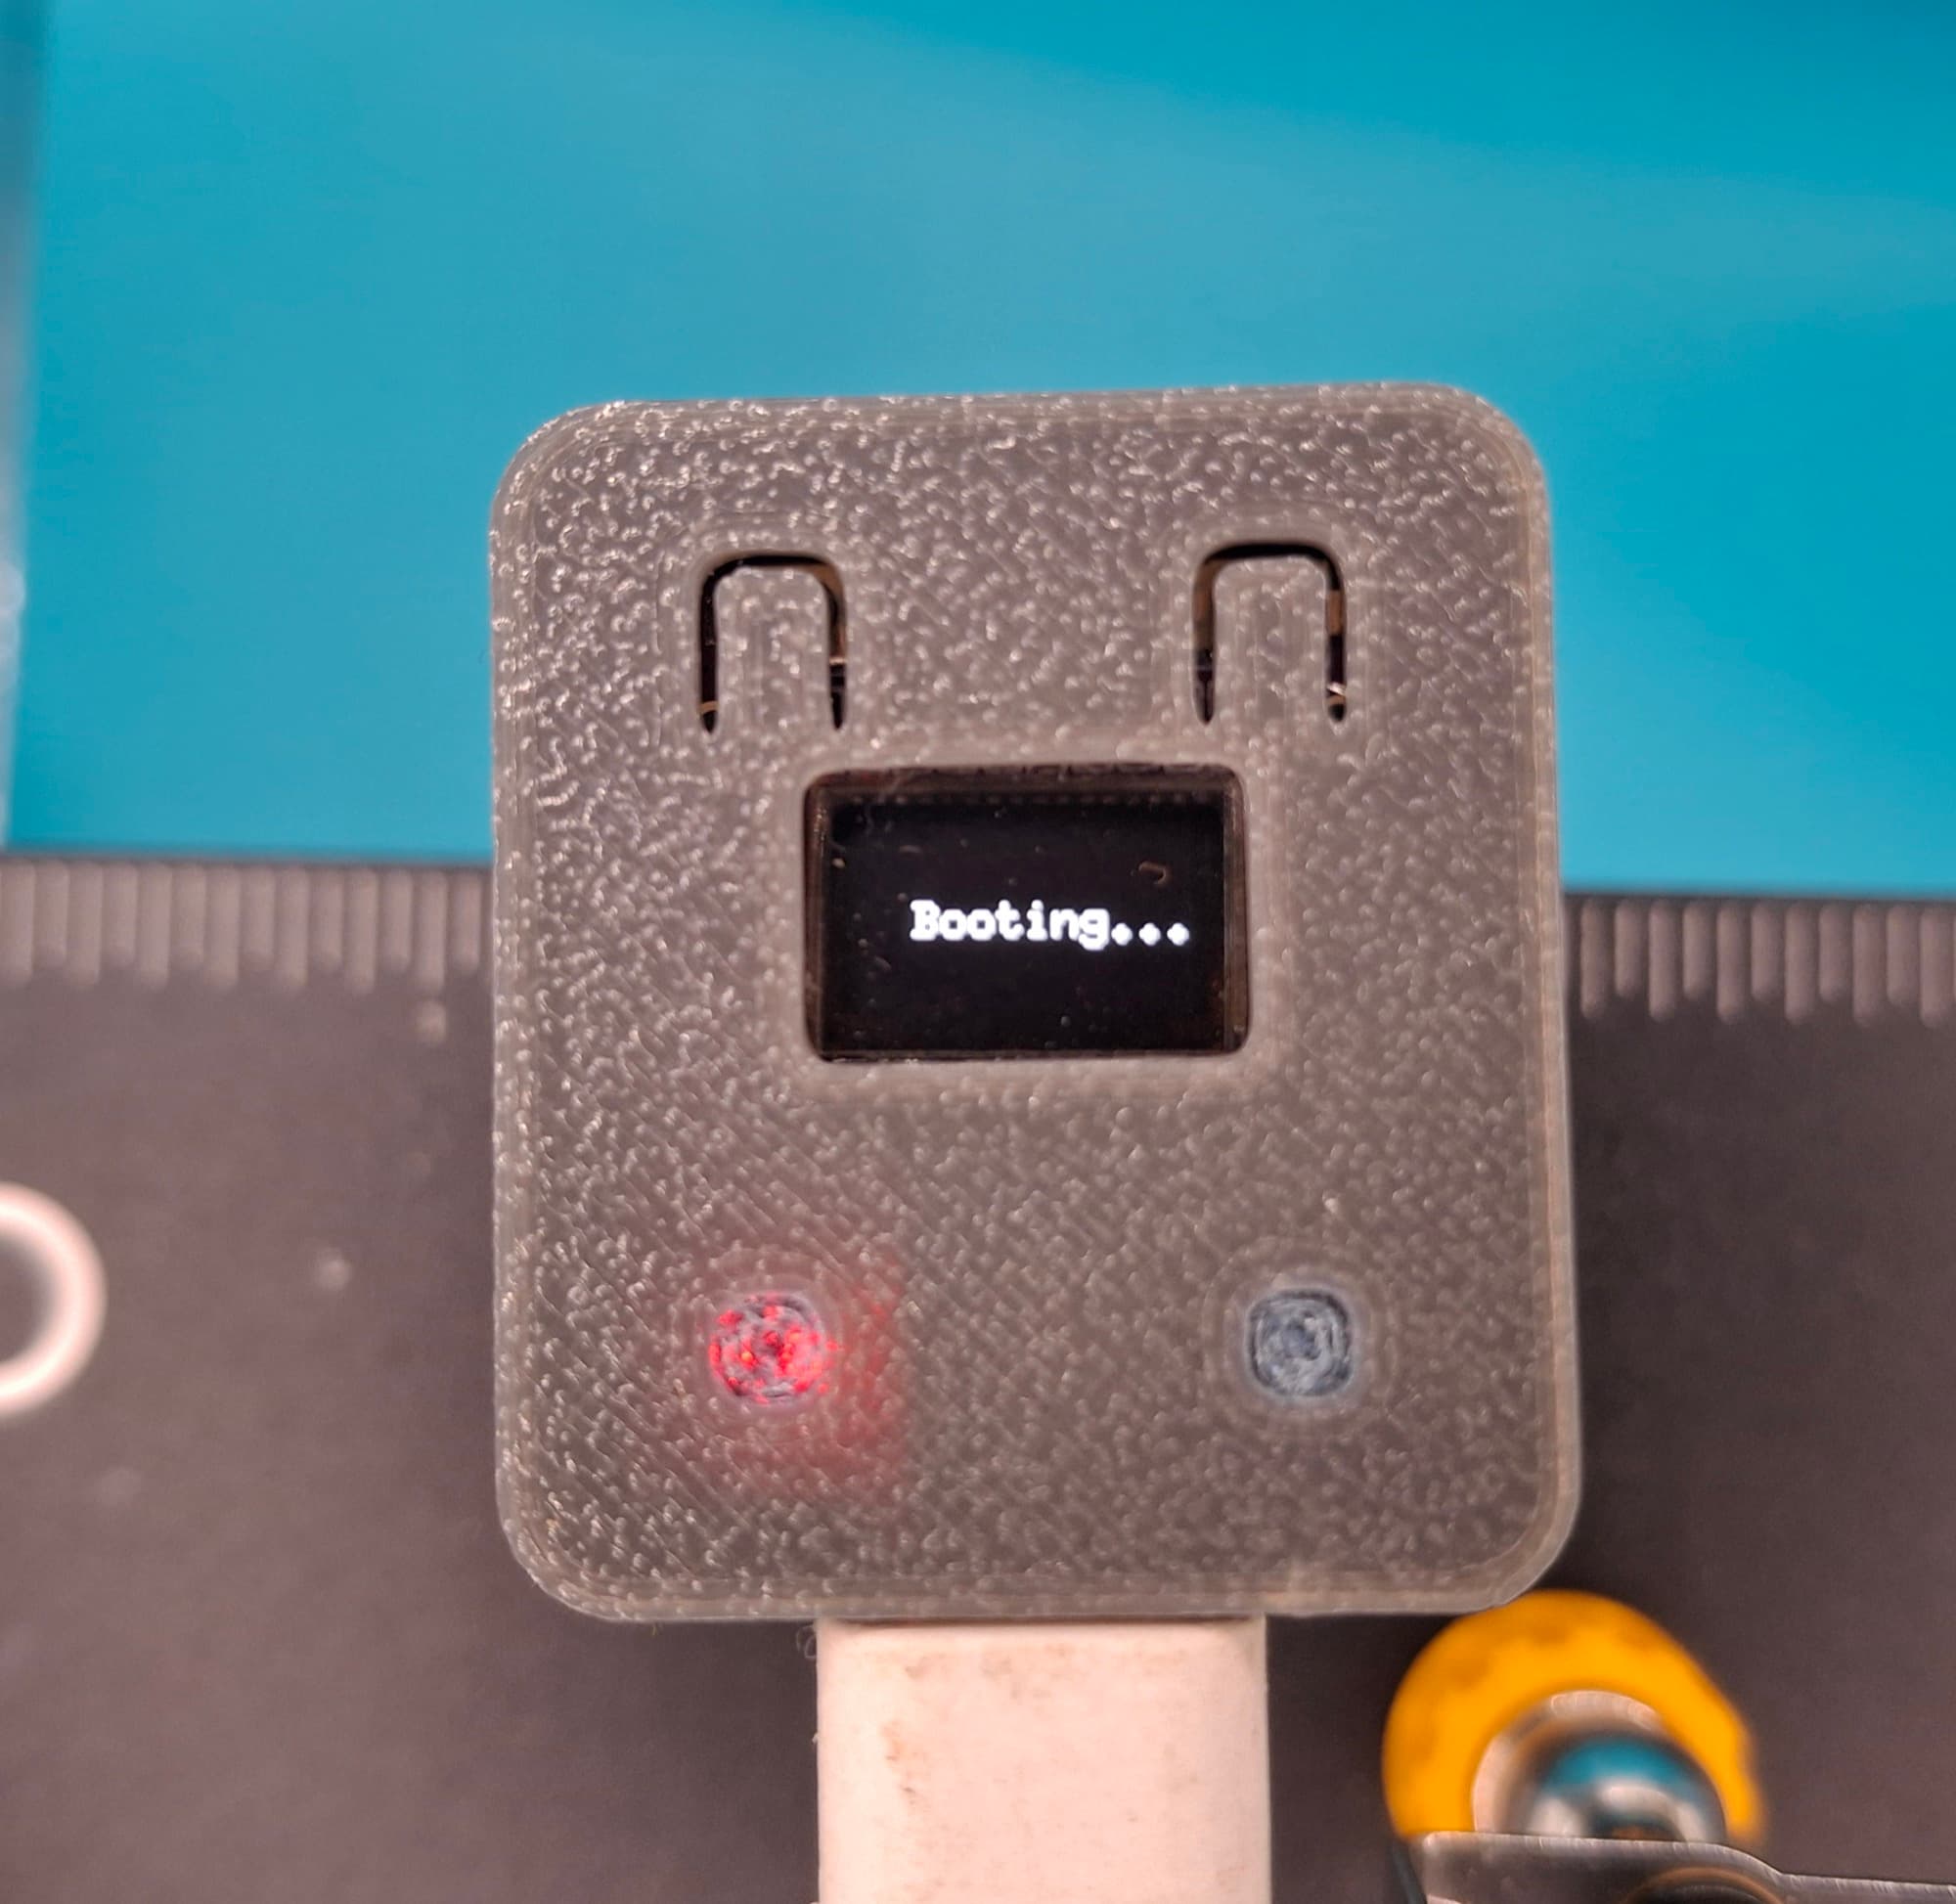
It's tiny — about an inch across — with a 0.42" OLED for status, a USB-C port for power, and a 3D-printed snap-together case.
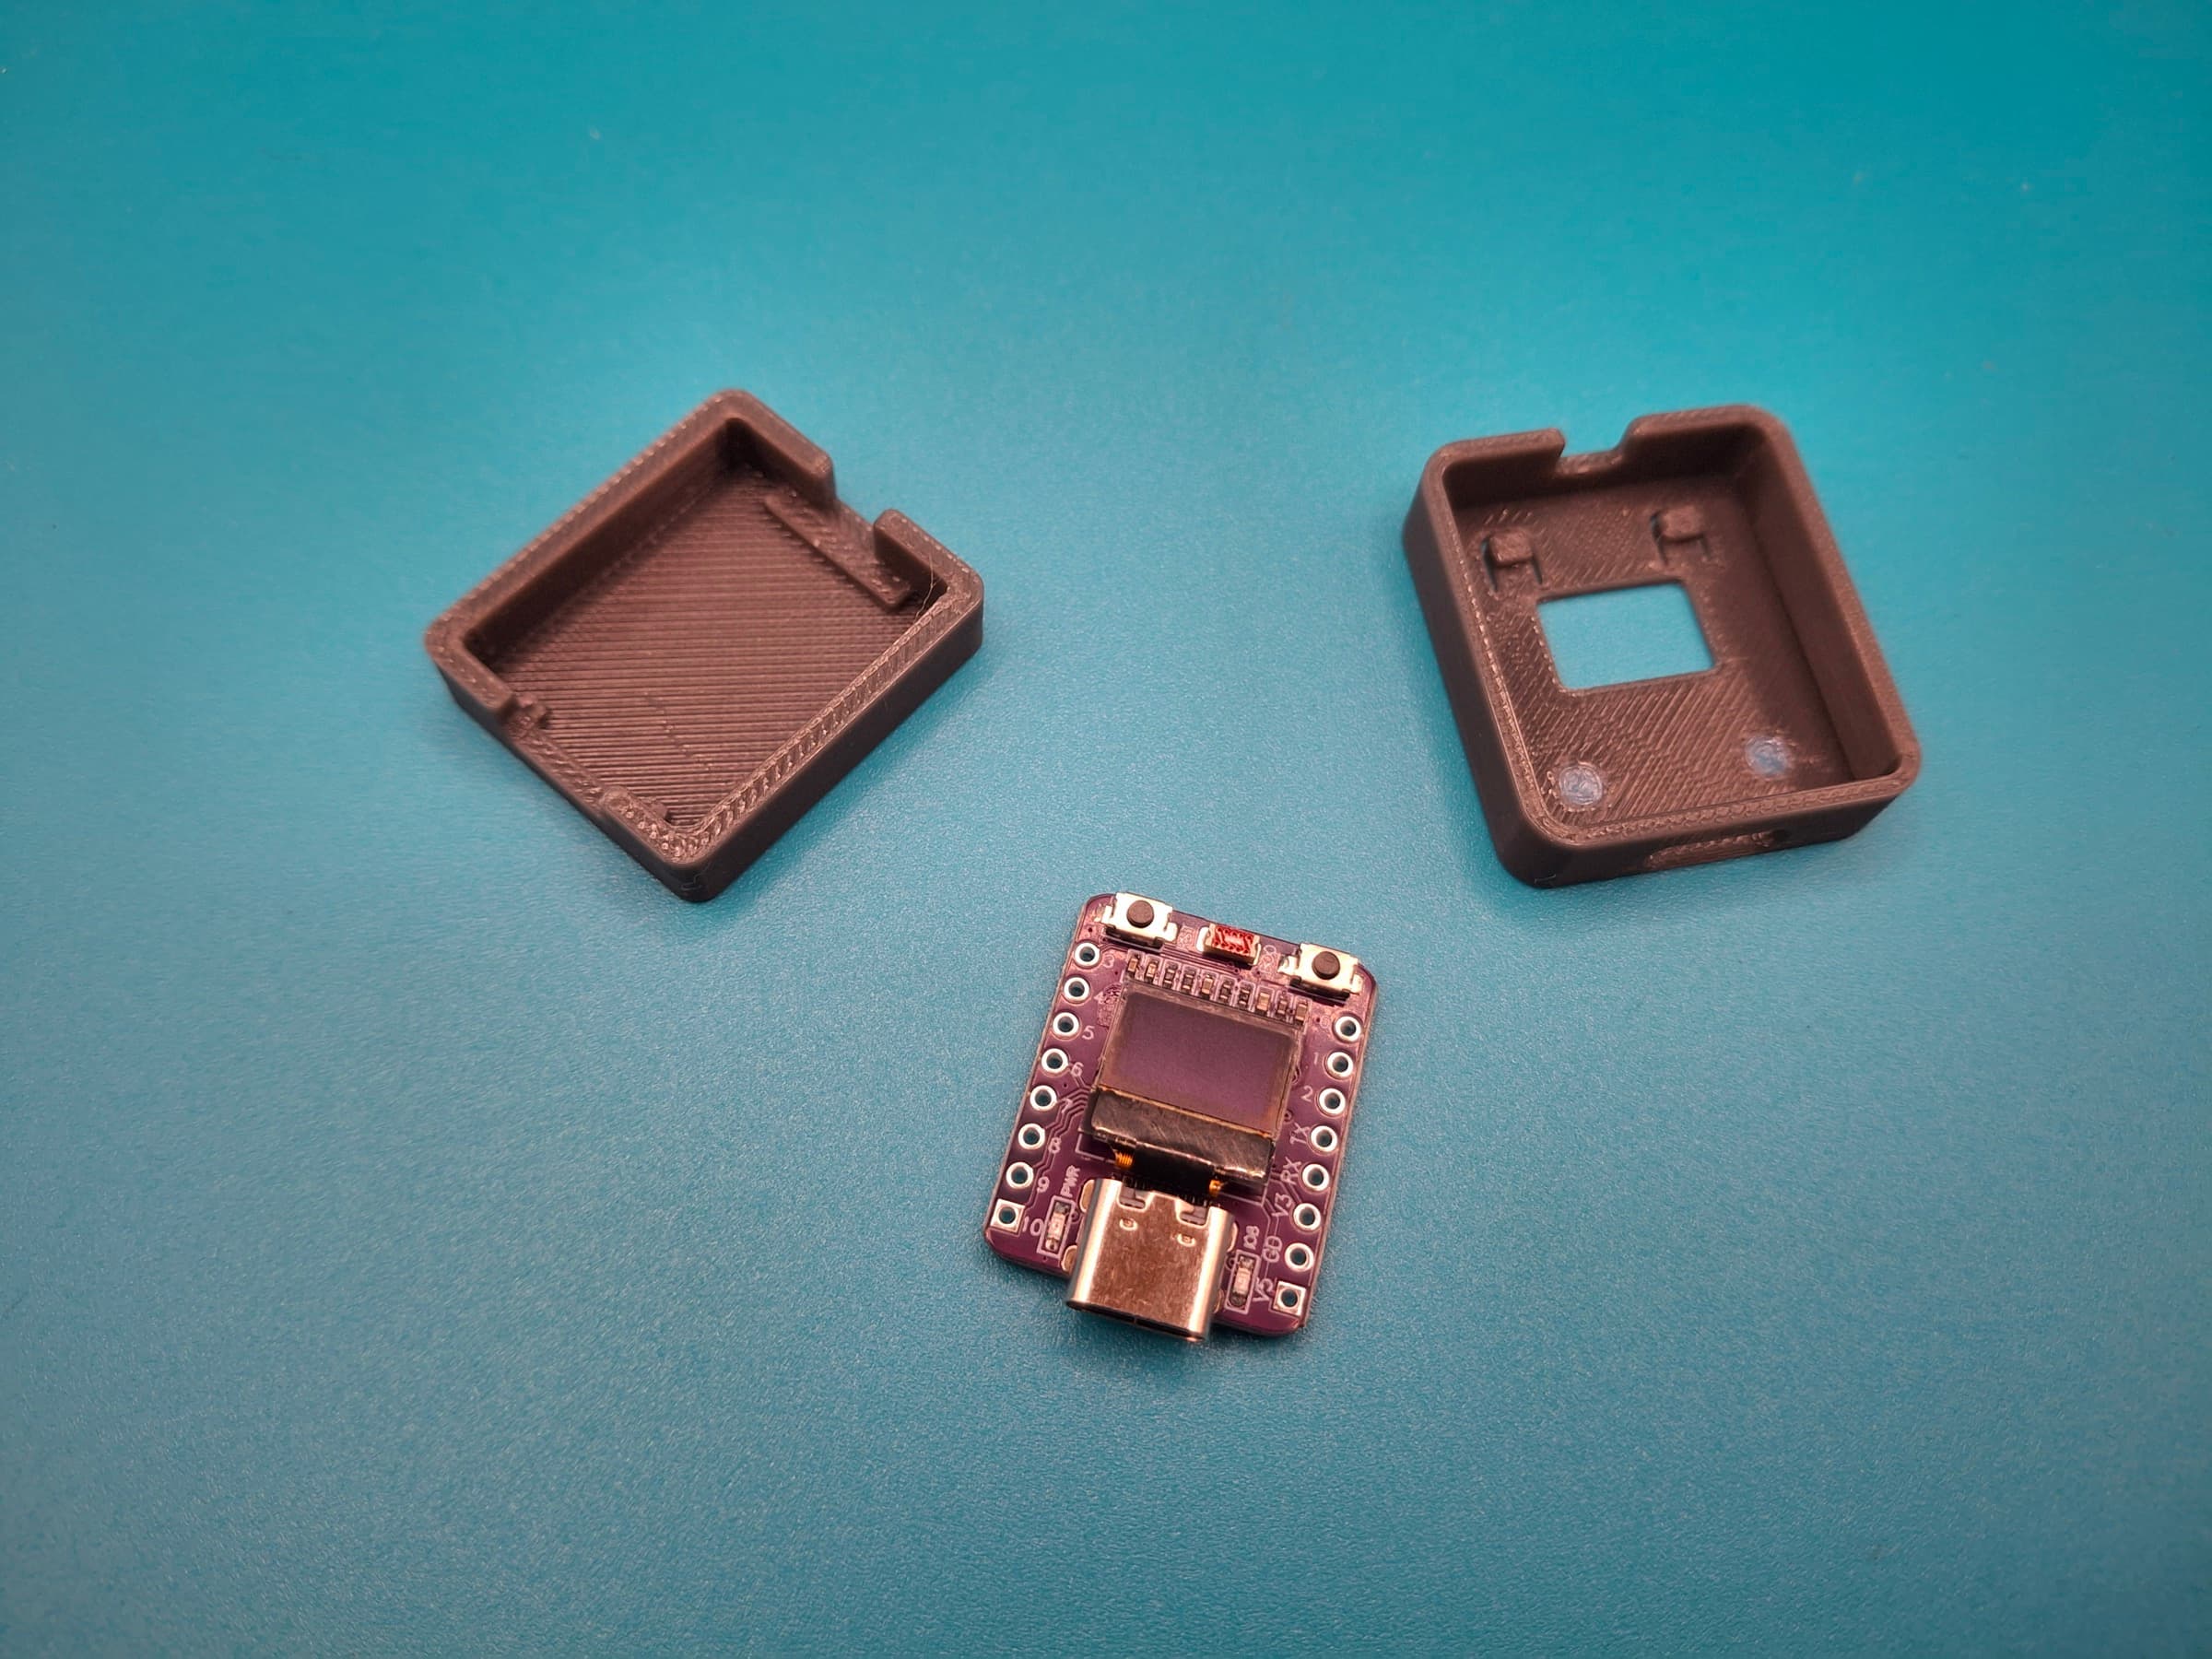
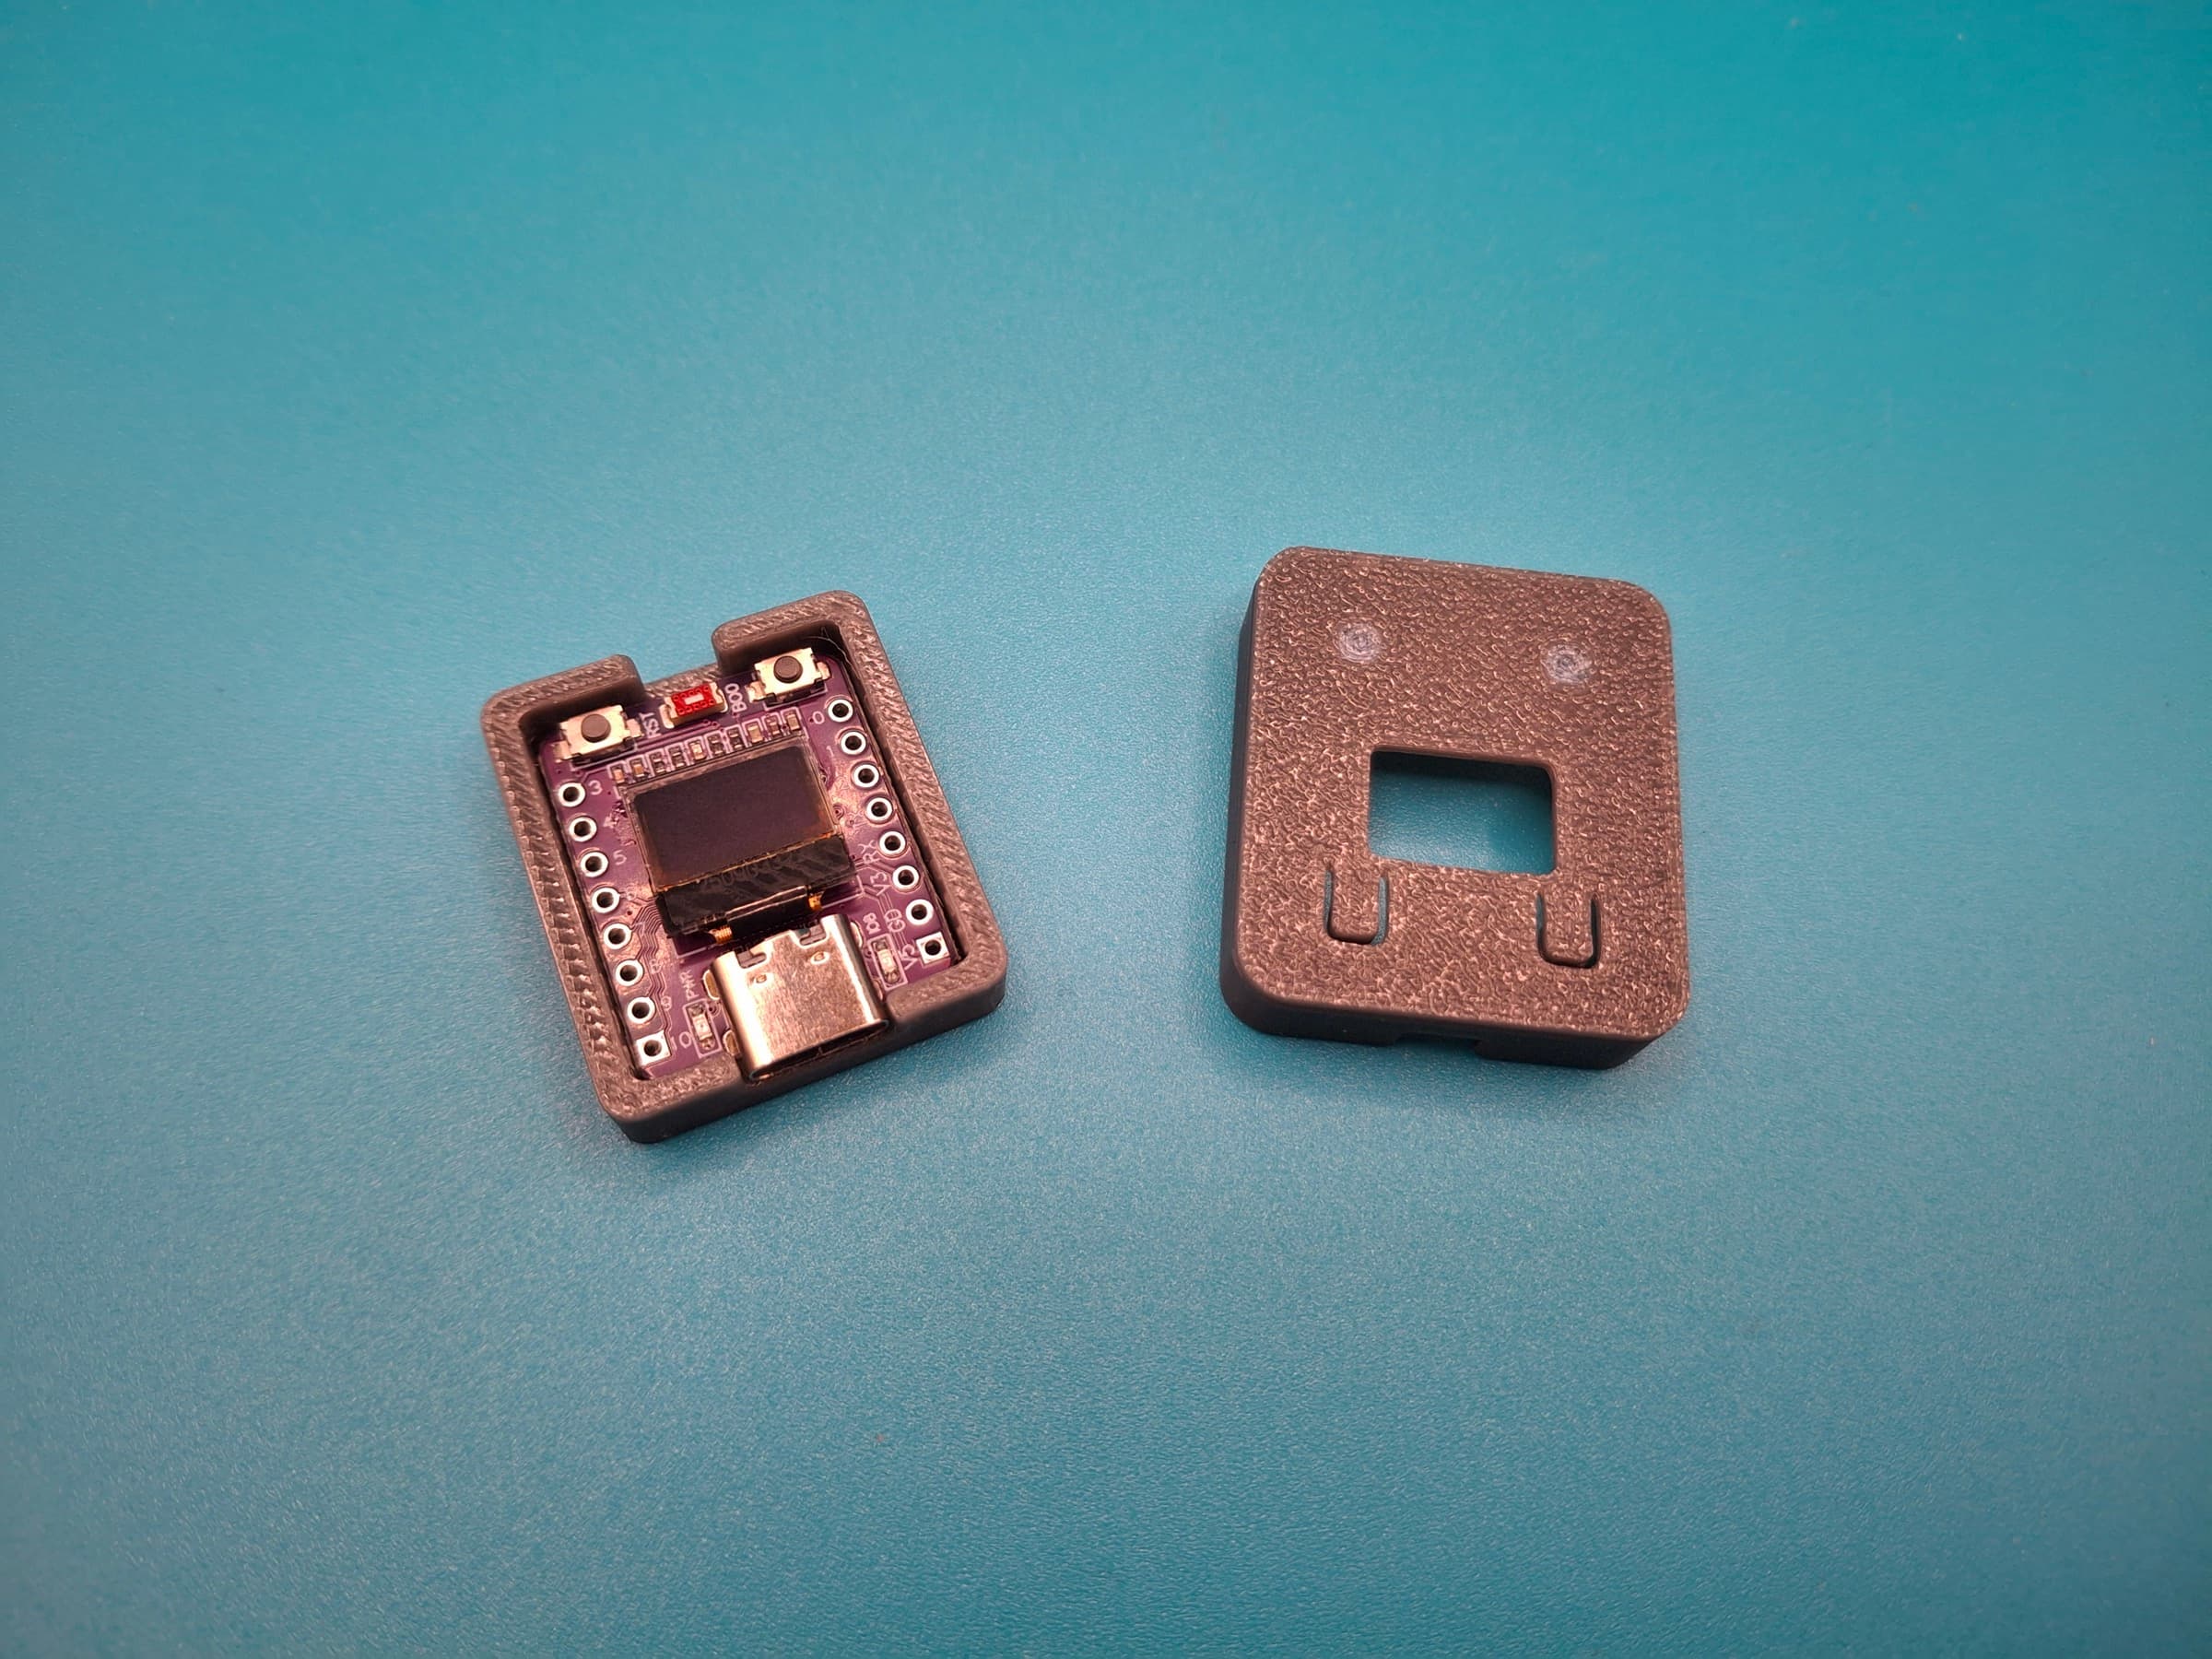
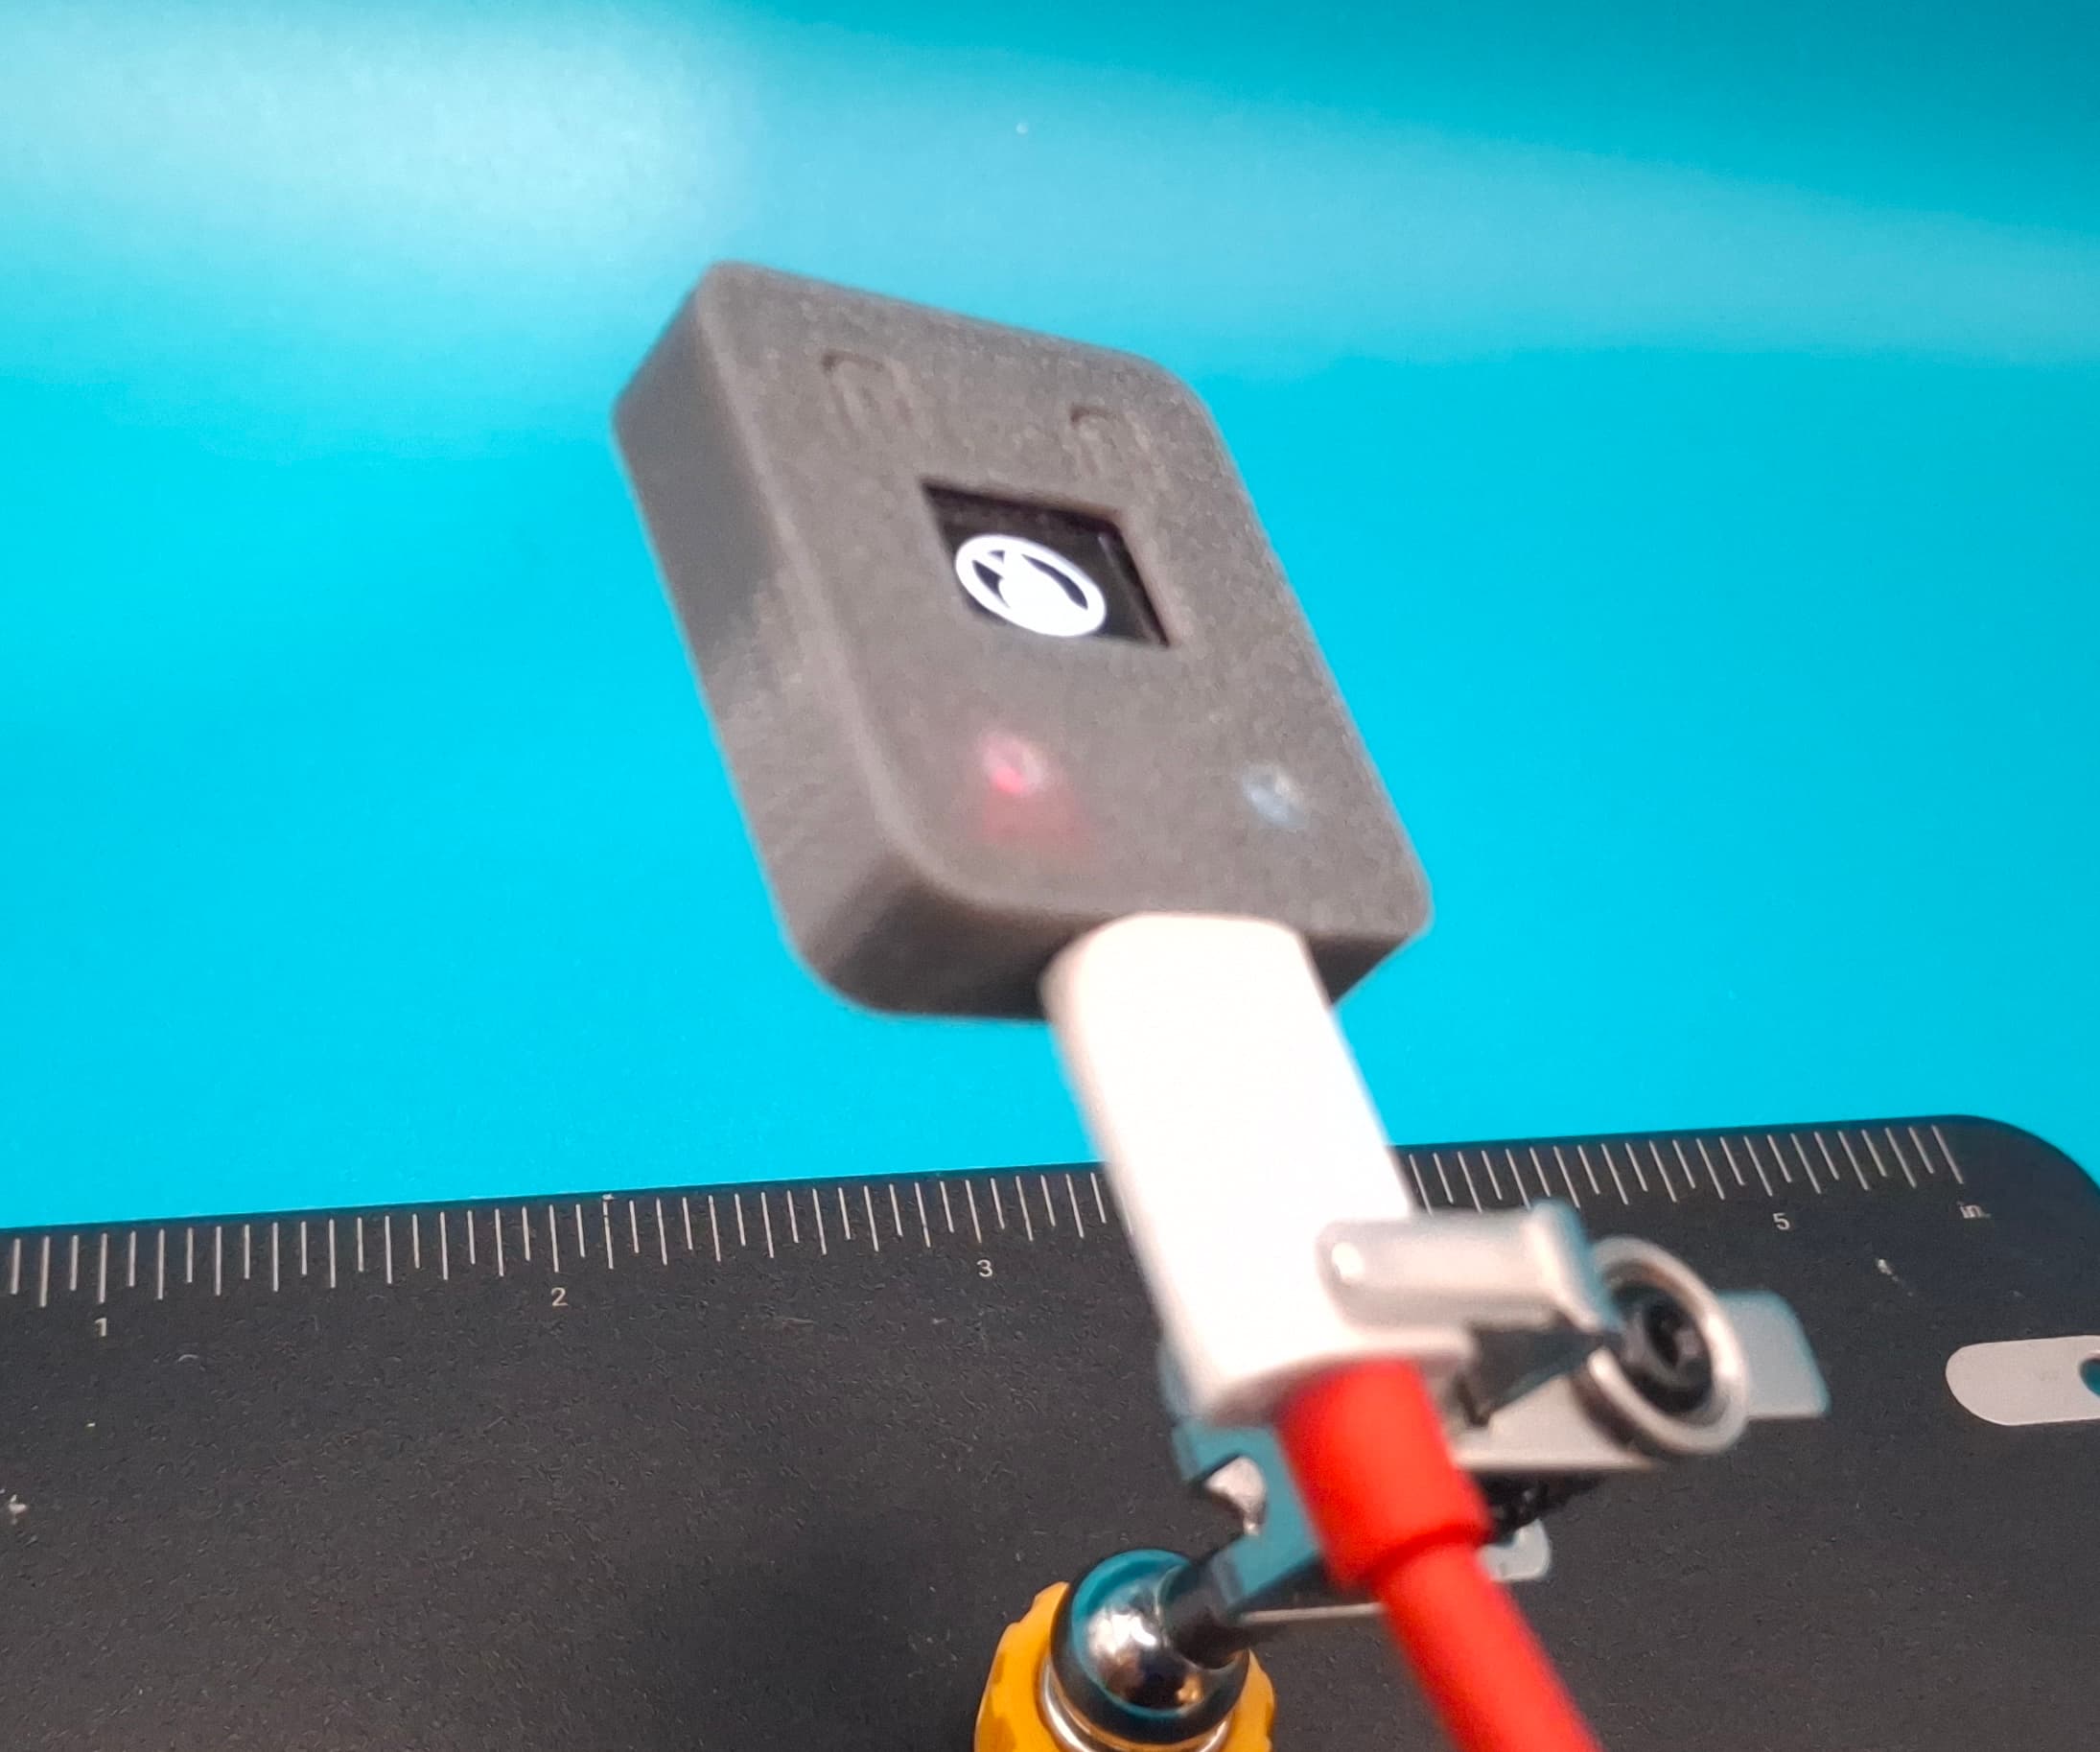
The case is a free download on MakerWorld. It's a two-part snap fit (no screws) — print it in translucent PLA or PETG so the status LEDs glow through. ~34 minutes at 0.2 mm, 15% infill, no supports.
Your Panda Breath only talks to gadgets on your home Wi-Fi, and 3D Spool Tracker runs in the cloud — so the two can't reach each other directly. The Gateway sits on your network and passes messages between them.
- You tap Heat, Stop, or set a target temperature on the Printers page.
- The command travels up to 3D Spool Tracker, which hands it off to your Gateway at home.
- The Gateway tells the Panda Breath what to do.
The heater's status — whether it's running and how warm the chamber is — comes back the same way, so you can keep an eye on it from your dashboard over the web without needing to connect to your local network.
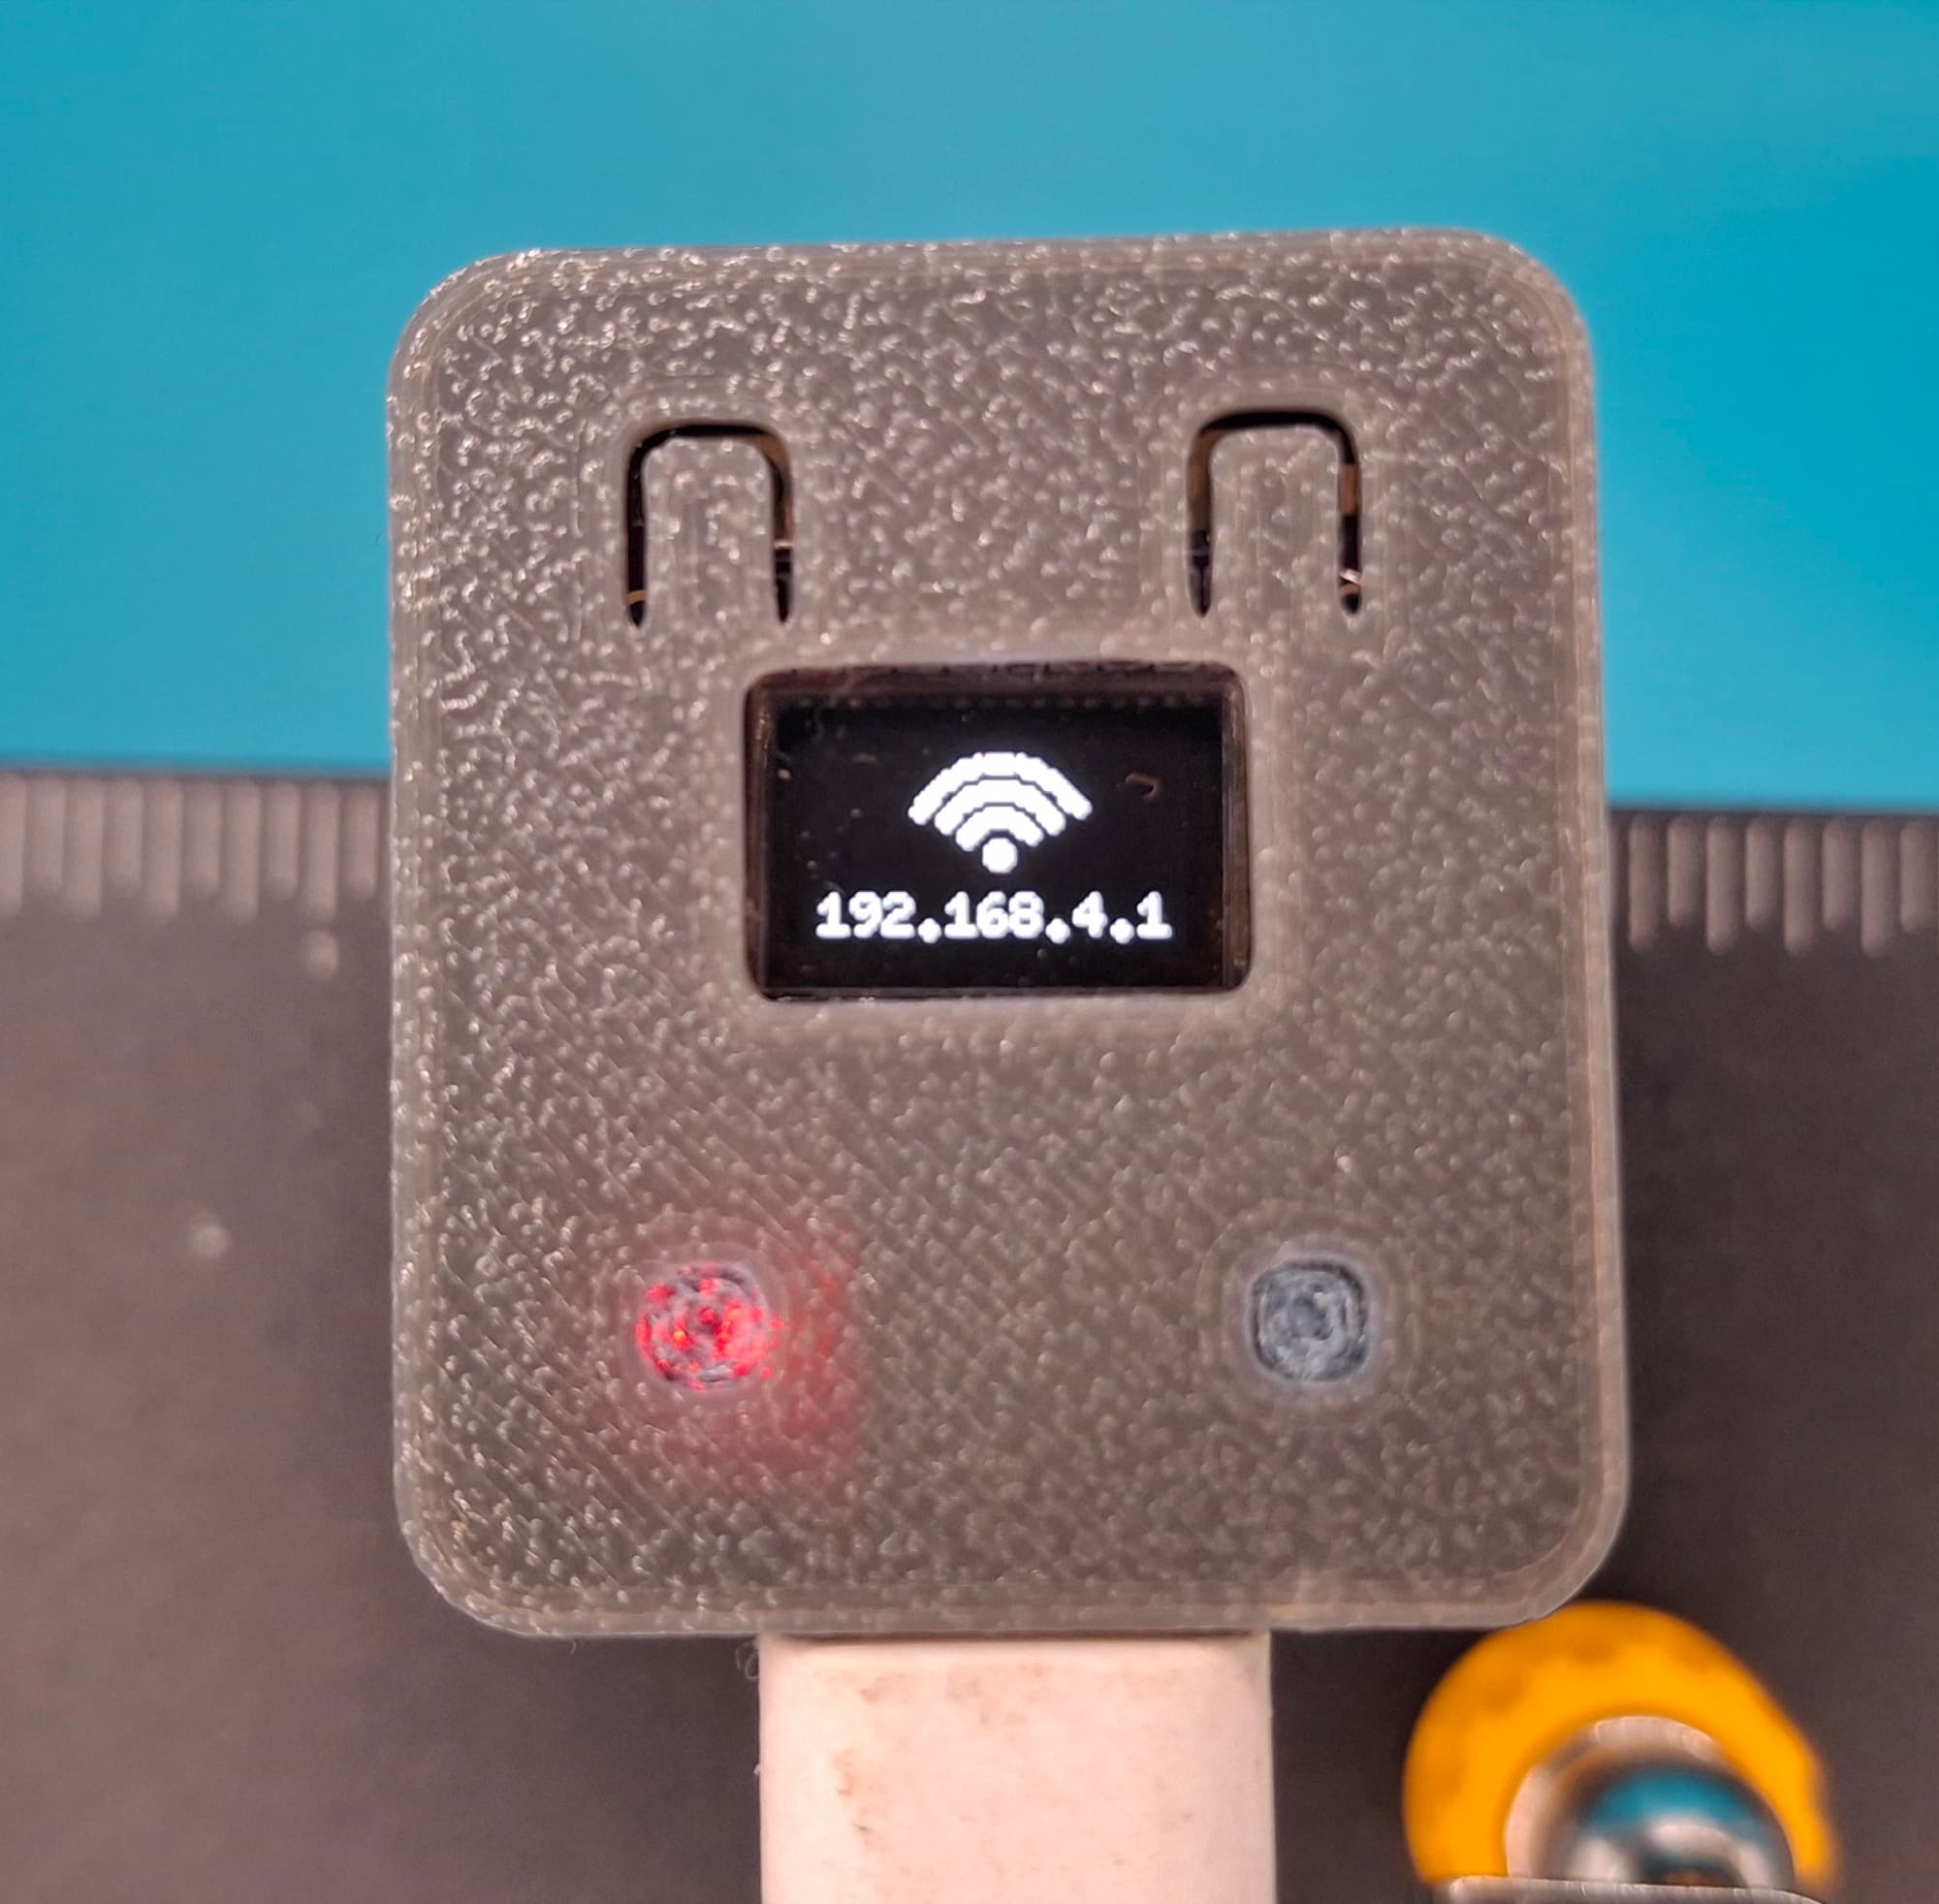
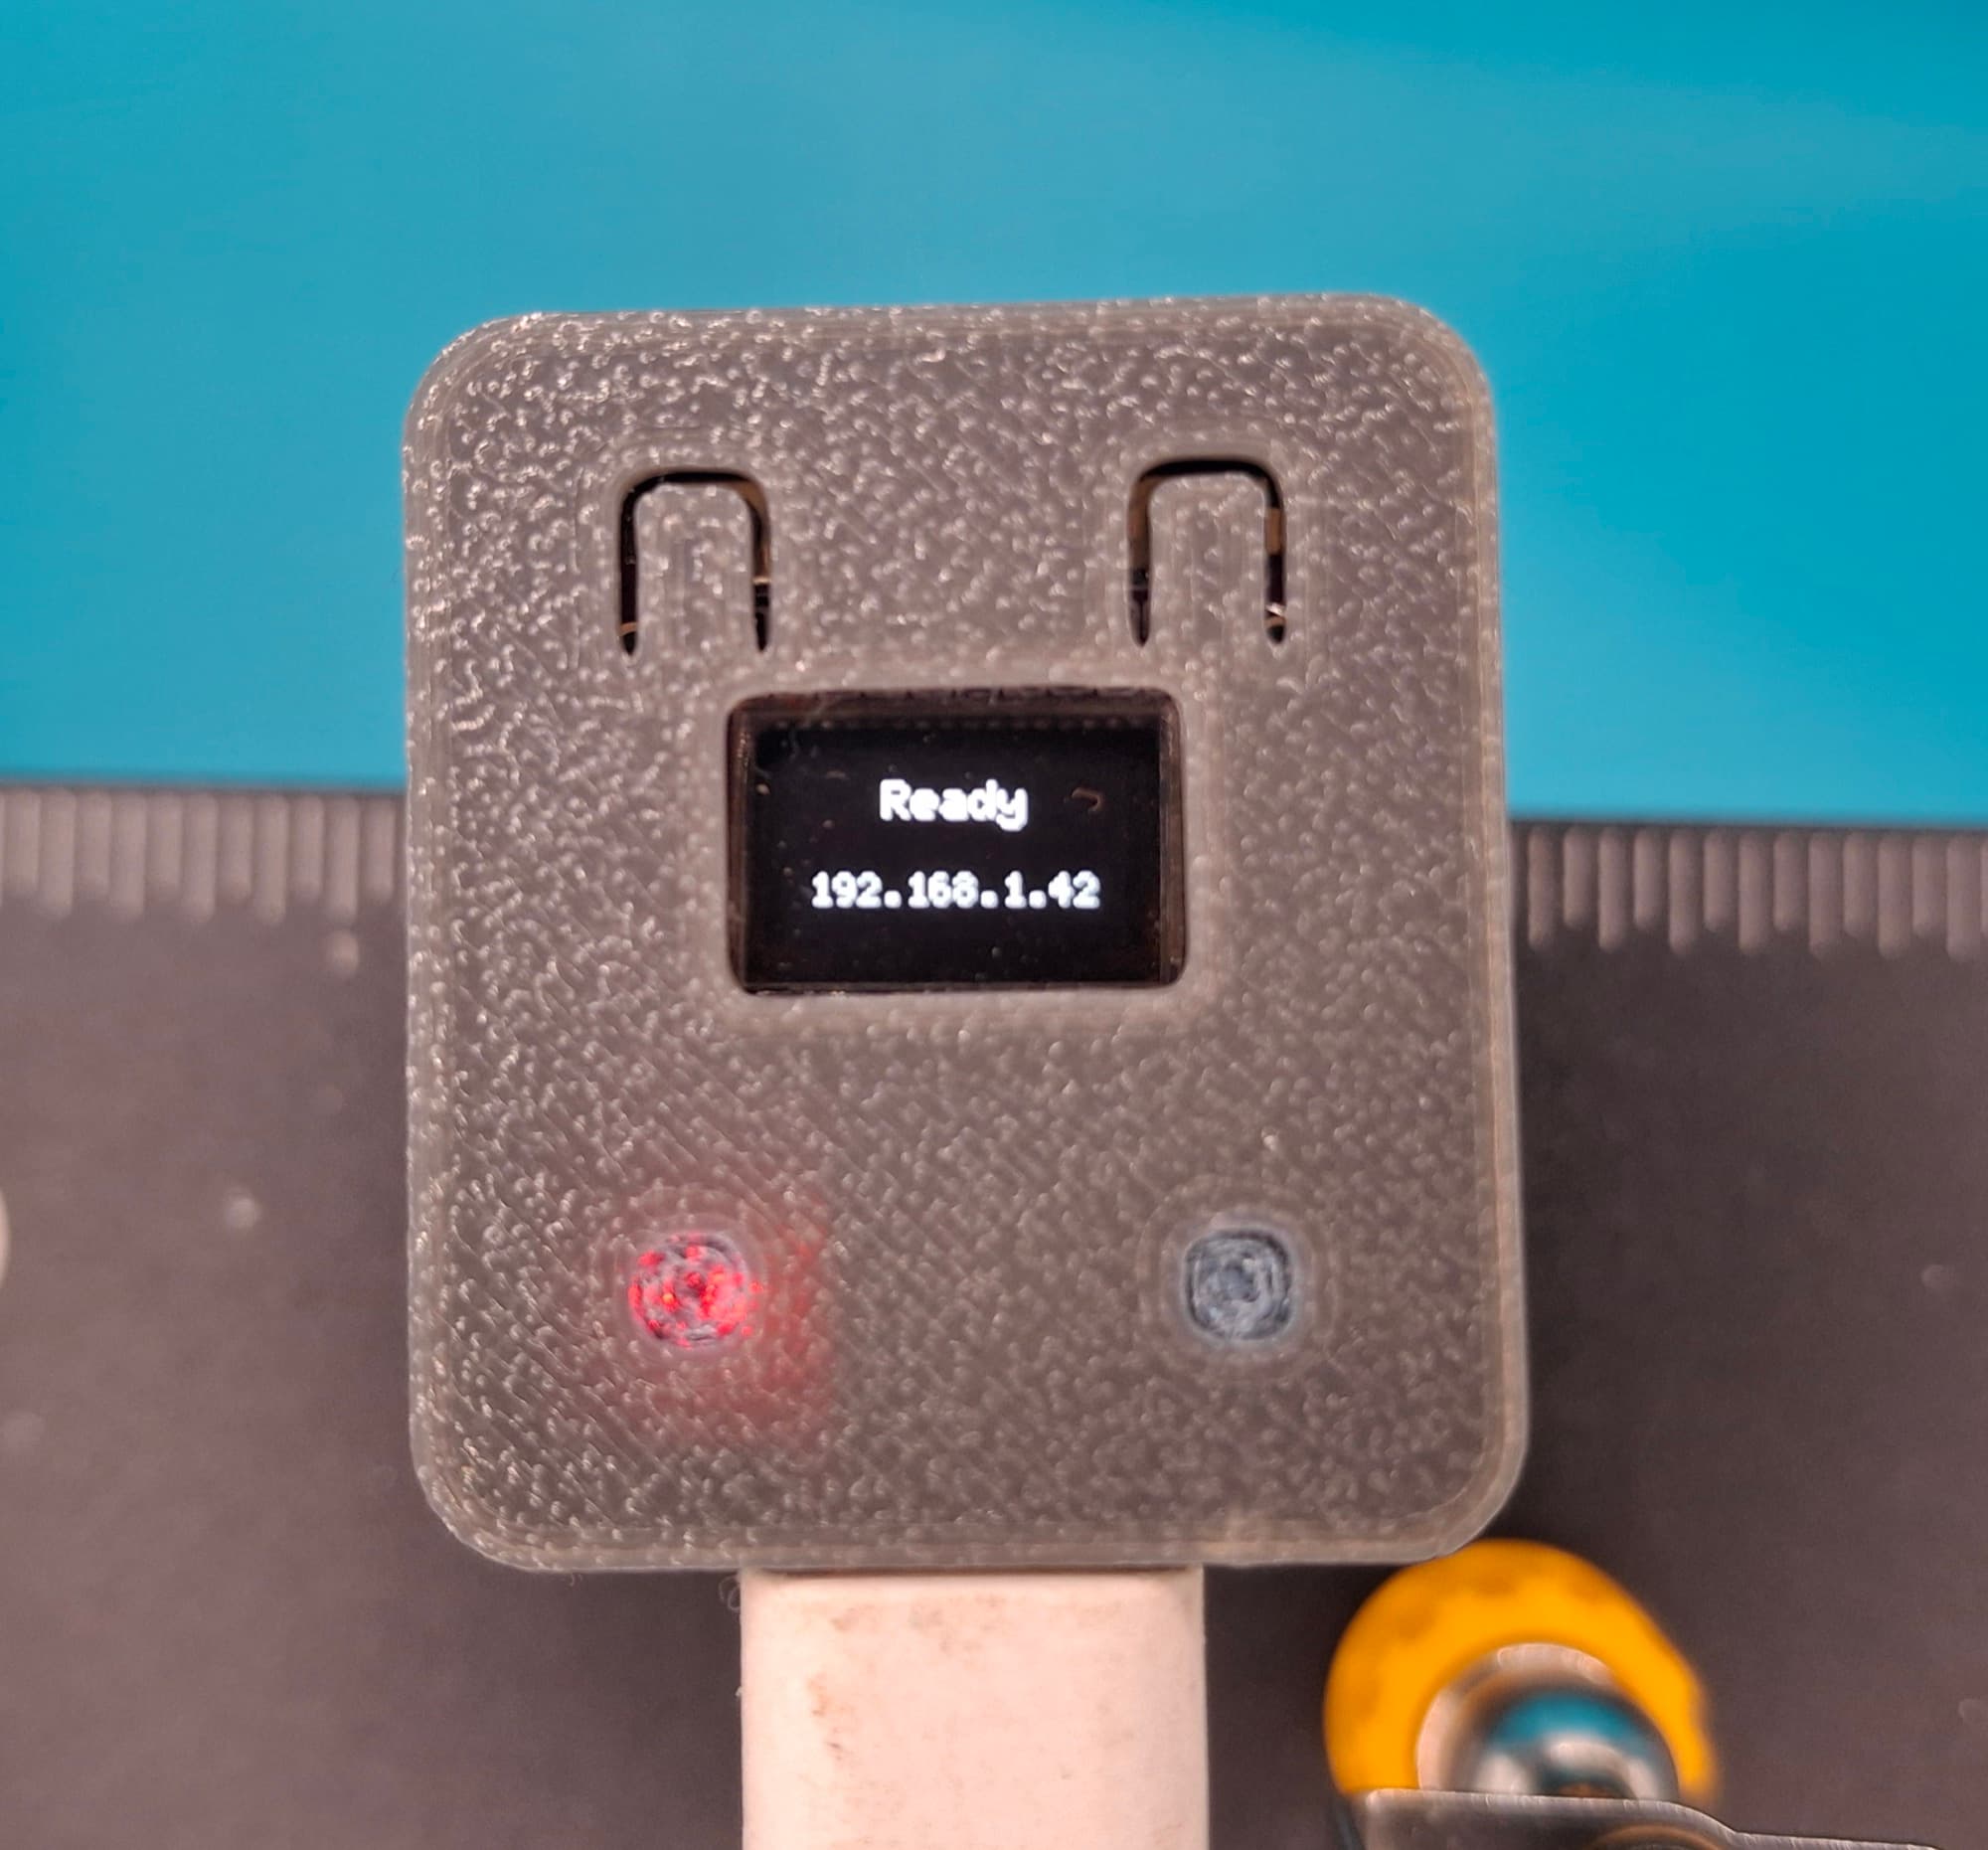
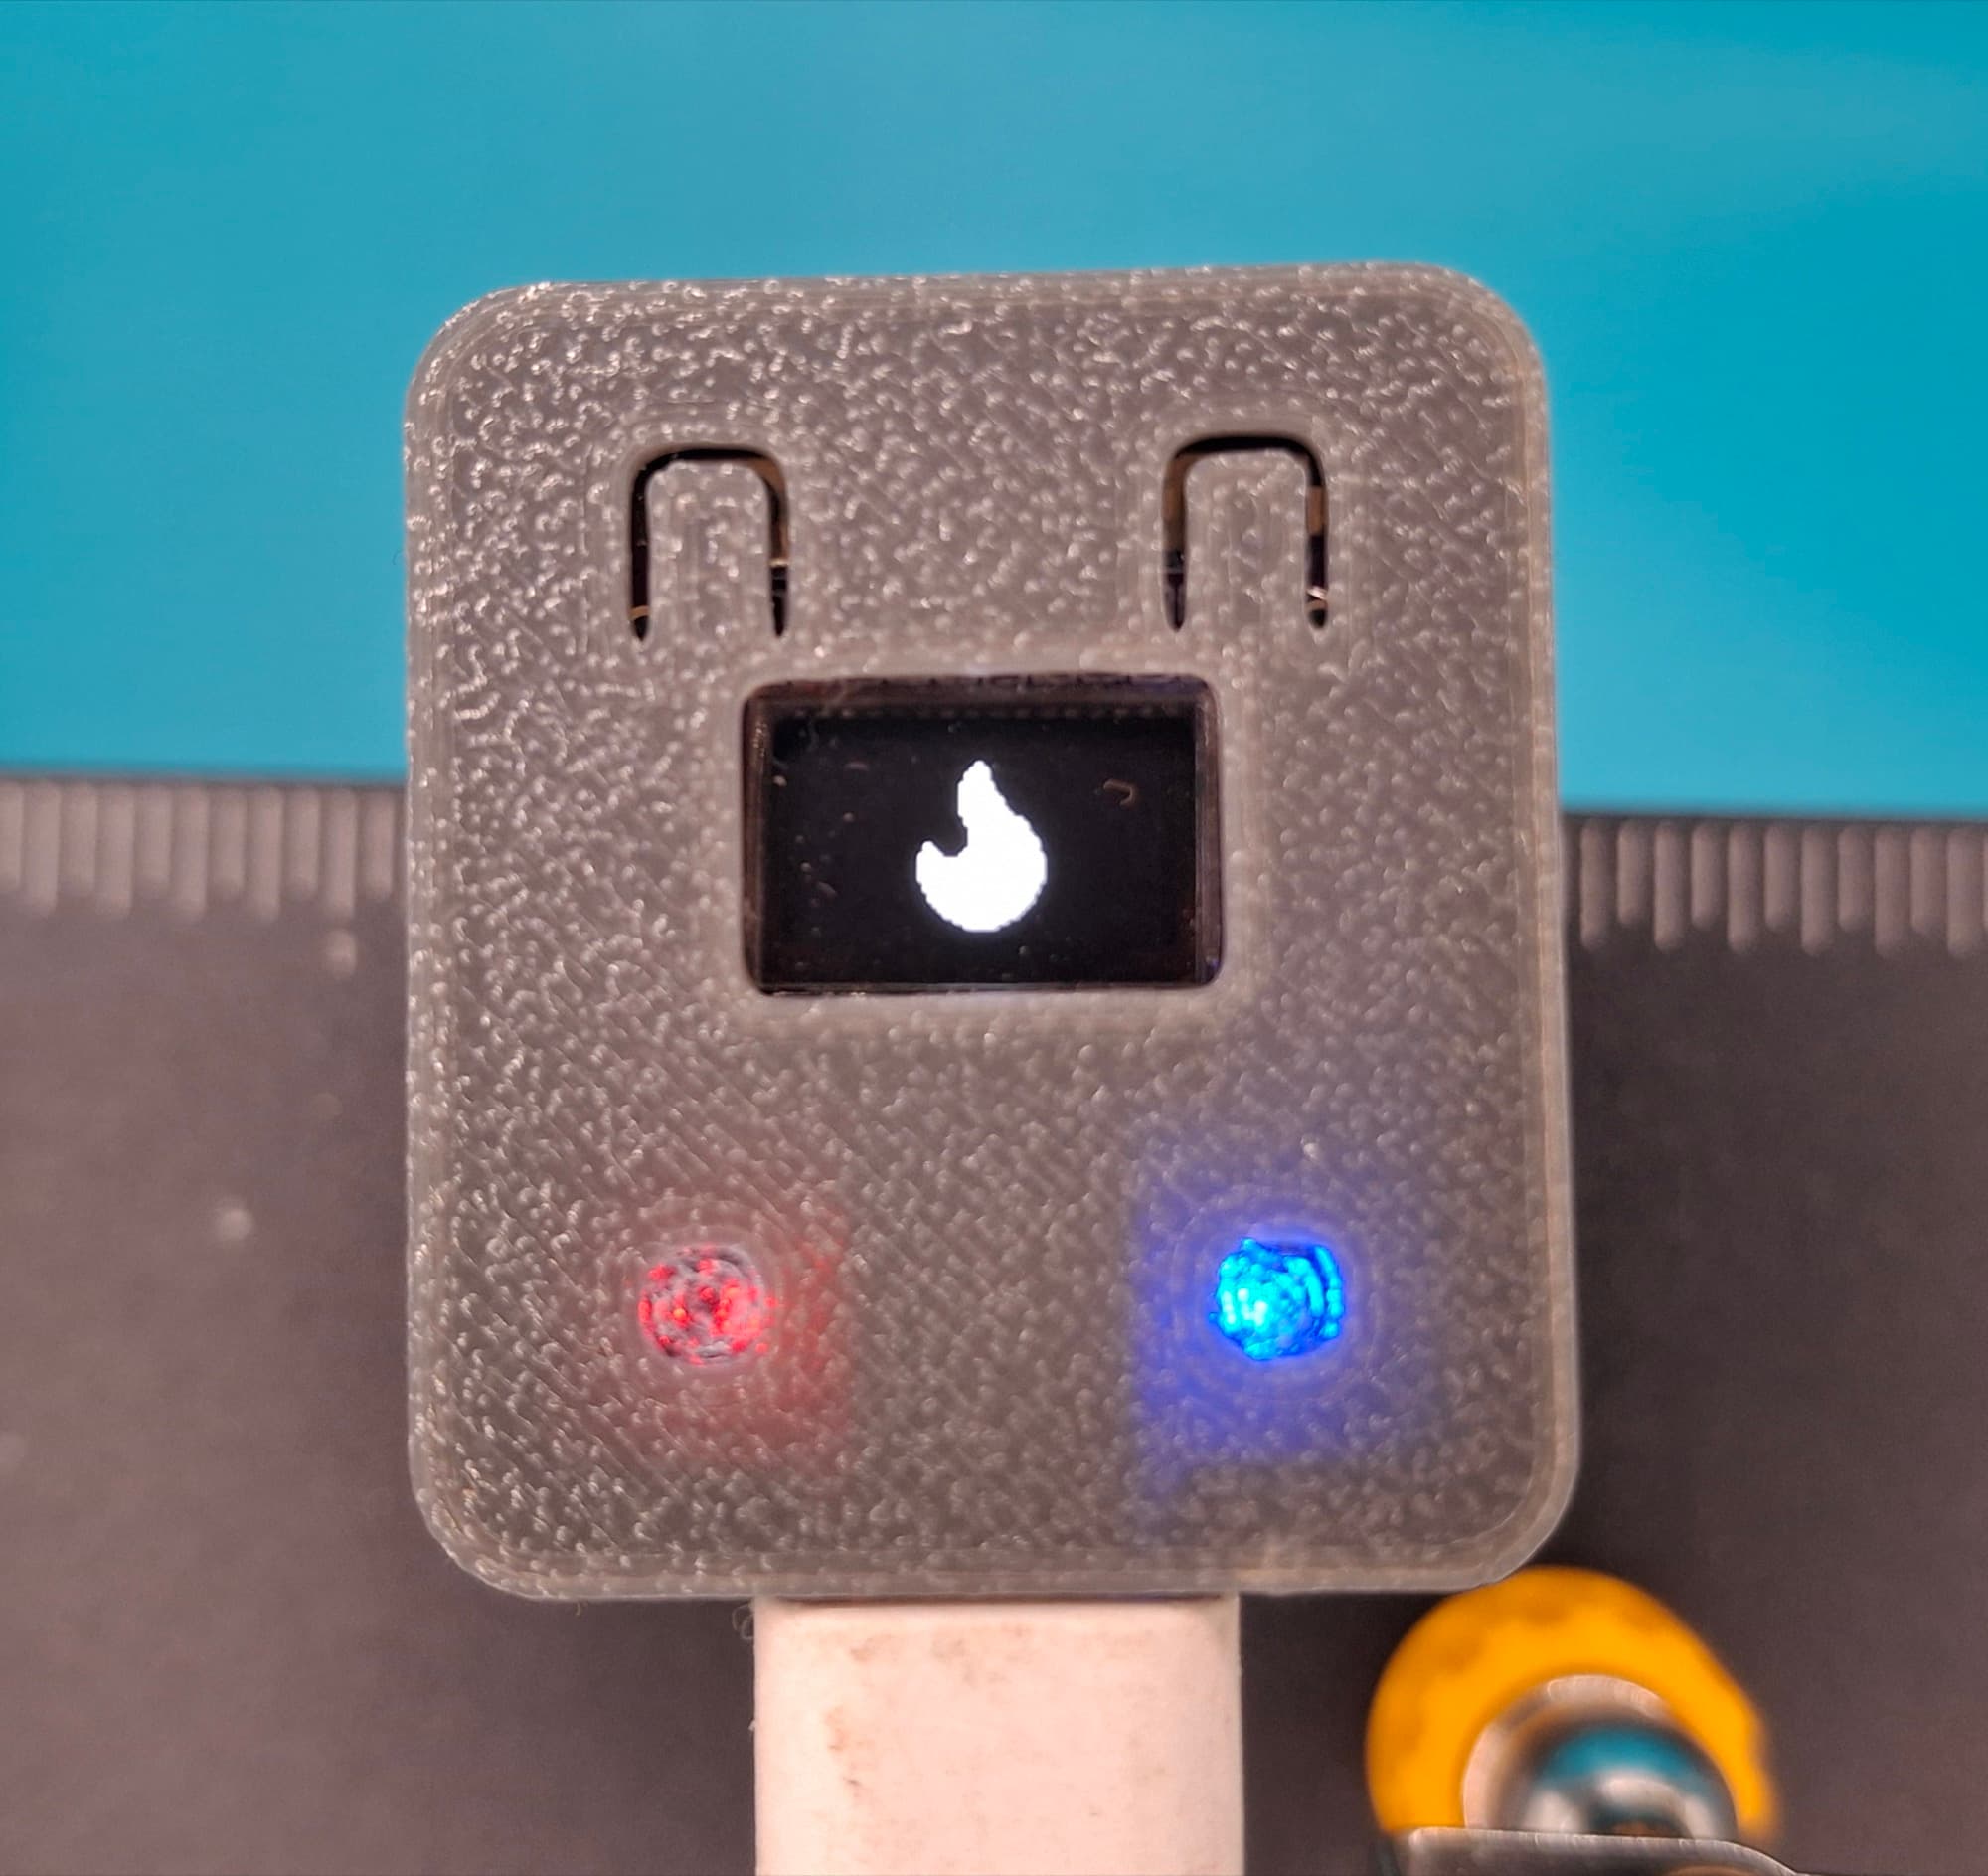
The onboard LEDs tell you where the Gateway is at a glance. The red LED means it's powered; the blue LED lights when the Panda is heating.
| Qty | Part | Notes / where to get it |
|---|---|---|
| 1x | ESP32-C3 Supermini Development Board (0.42" OLED) | Buy on Amazon (paid link) |
| 1x | Printed case (2 parts, snap-fit) | Download on MakerWorld — PLA or PETG, ~34 min print |
1. Flash the firmware
- Connect the board to your computer with a USB data cable (a charge-only cable won't work).
- Click Flash Gateway Firmware below and follow the prompts. It takes about a minute — no Arduino IDE needed, it all happens in your browser.
2. Connect it to your Wi-Fi
- On first boot the Gateway creates its own Wi-Fi network named
PandaGW-Setup-XXXX. Join it from your phone or laptop. - A setup page opens automatically. If it doesn't, open
http://192.168.4.1in your browser. - Enter your home Wi-Fi name and password, plus your 3D Spool Tracker API key. You can reuse the same key as your Spool Inspector, or create a new one in Settings → API Keys.
- Tap Save & reboot. The Gateway restarts, joins your network, and shows up under My Devices.
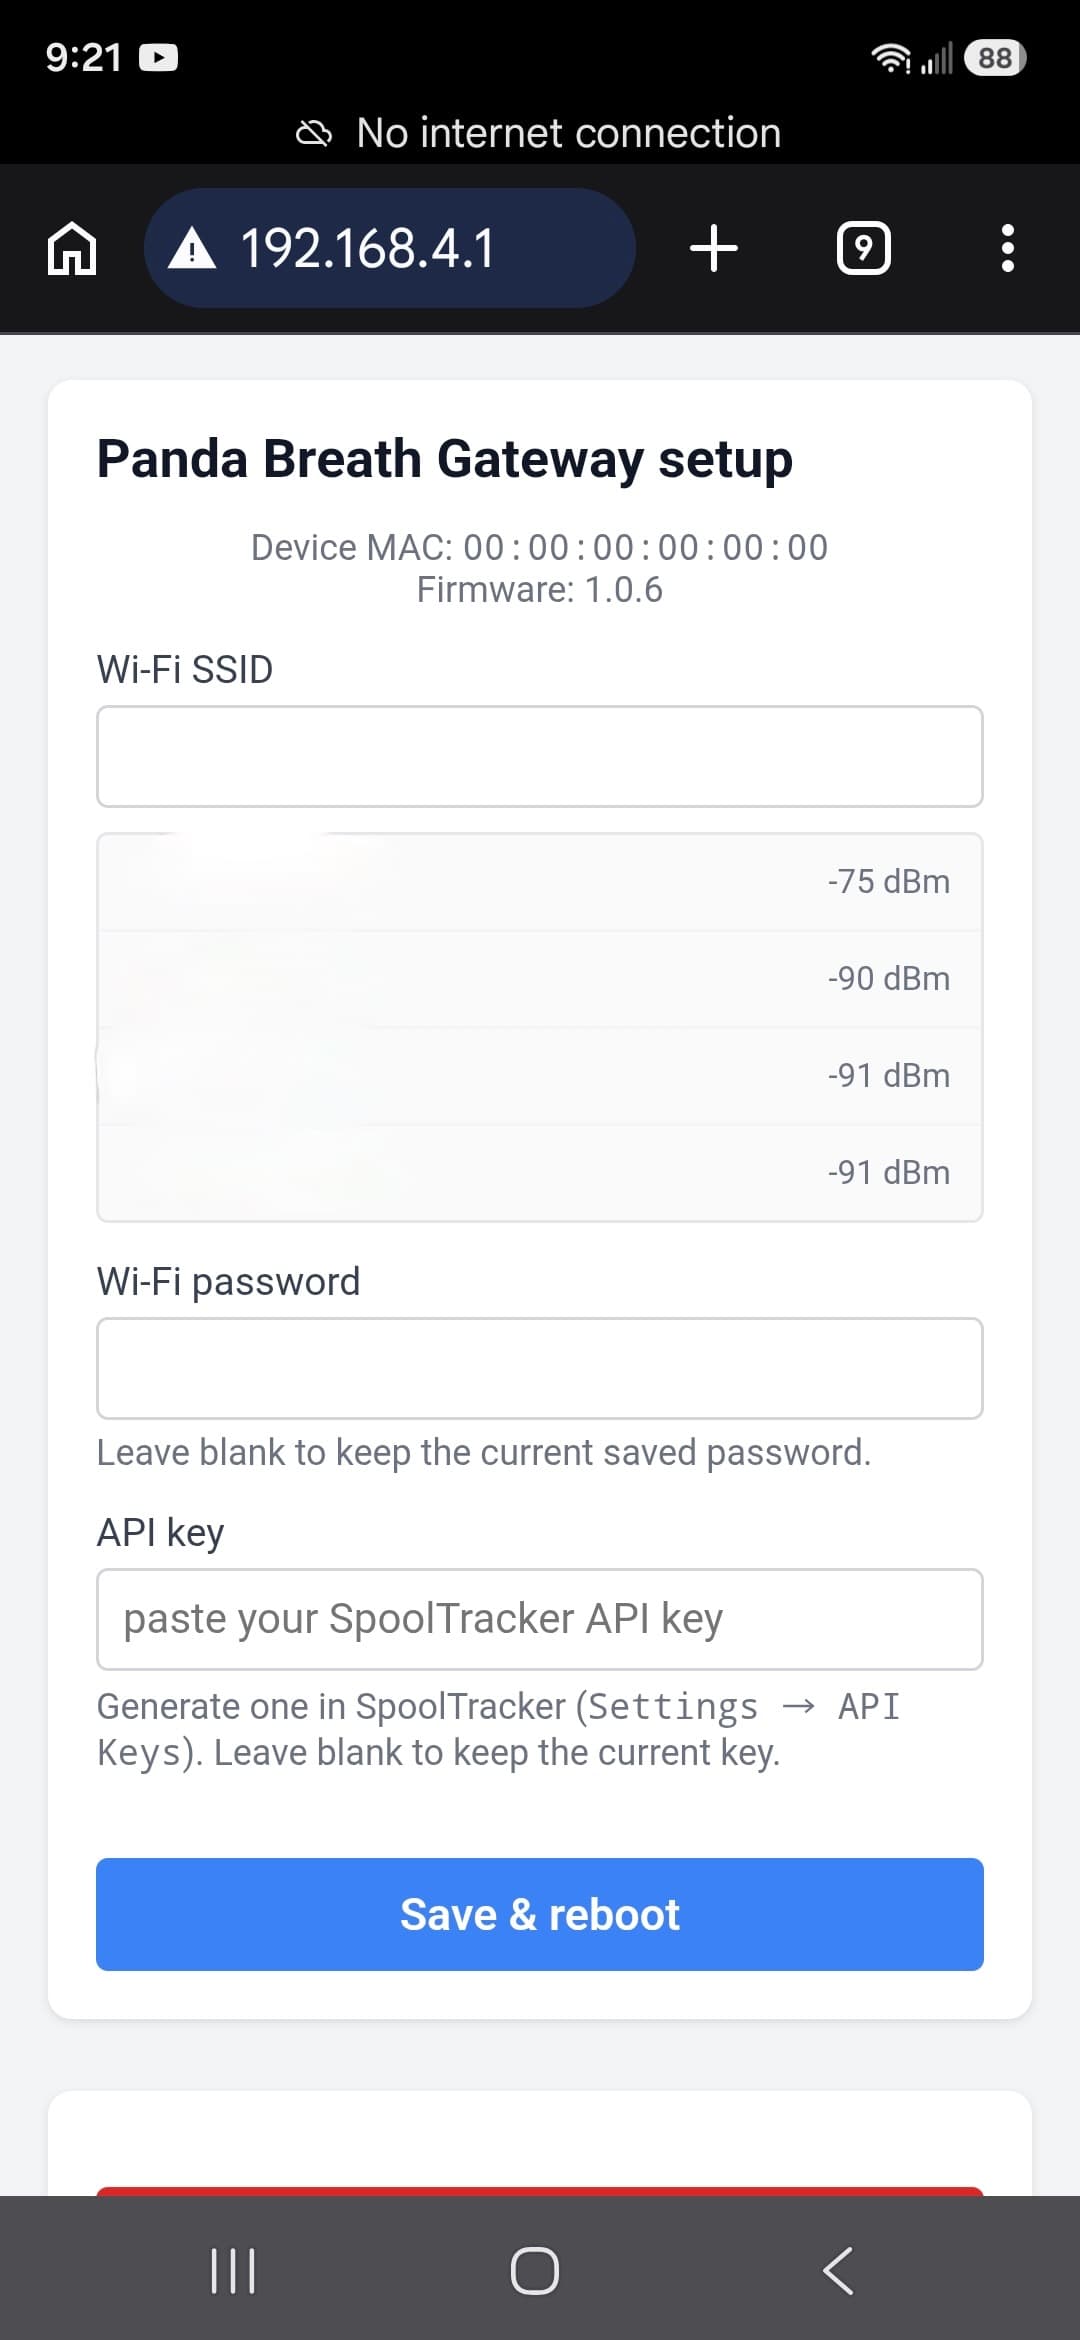
Re-run setup later (change Wi-Fi / API key)
The Gateway only opens its PandaGW-Setup-XXXX hotspot when it can't reach a saved Wi-Fi network. To get back into setup mode:
- Power it on while its saved network is unavailable — turned off, out of range, or after you've changed your Wi-Fi name or password. After about 30 seconds of not connecting, it reopens the setup hotspot and you can reconnect and re-enter your details.
- Or re-flash the firmware (button above), which brings it back to a fresh setup state.
Once the Gateway is online in My Devices, add your Panda Breath as a chamber heater and point it at the Gateway so 3D Spool Tracker can reach it.
1. Open Printers & Heaters
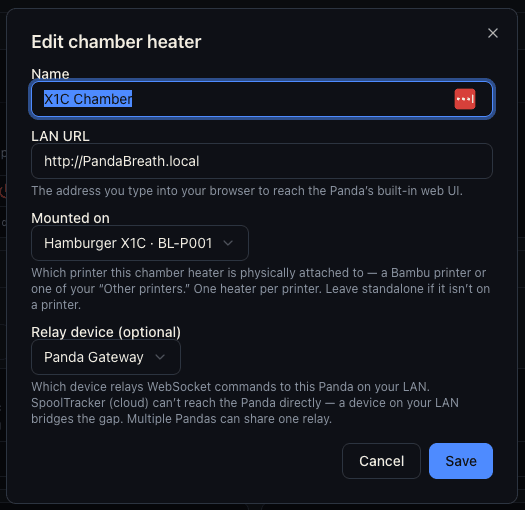
Go to the Printers & Heaters page. In the Chamber heaters section, click Add.

2. Fill in the heater details
- Name — whatever you'll recognize it by (e.g. X1C Chamber).
- LAN URL — the address you type into your browser to reach the Panda's built-in web UI (e.g.
http://PandaBreath.local). - Mounted on — pick a Bambu or “Other” printer if the heater lives in that printer's chamber, or leave it Not linked (standalone) if it isn't tied to one printer. One heater per printer.
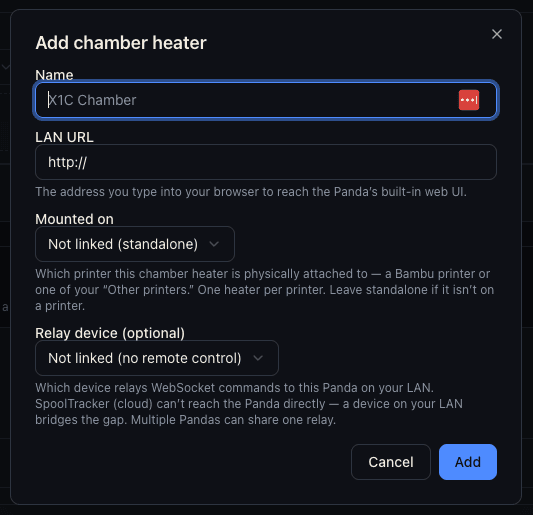
3. Set the Relay device to your Gateway
Under Relay device, choose your Panda Gateway. This is the key step: 3D Spool Tracker runs in the cloud and can't reach the Panda on your LAN directly — the Gateway bridges that gap. Multiple Pandas can share one Gateway. Then click Add.
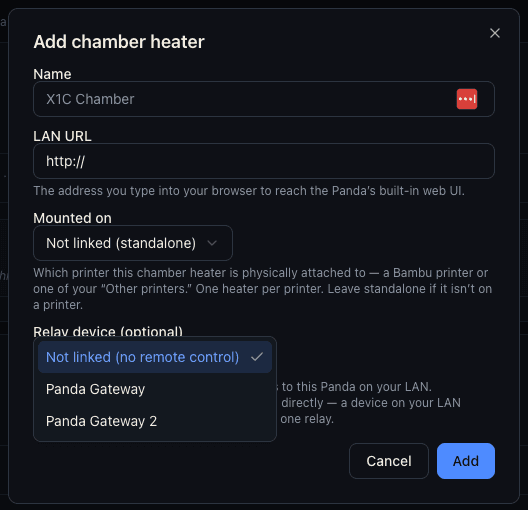
4. Heat, dry, and monitor
The heater now appears on the Printers & Heaters page with live controls: set a target temperature, tap Heat or Dry, and Stop when you're done. Its state and chamber temperature read back through the Gateway, so you can keep an eye on it from your dashboard. Commands deliver within about 30 seconds.
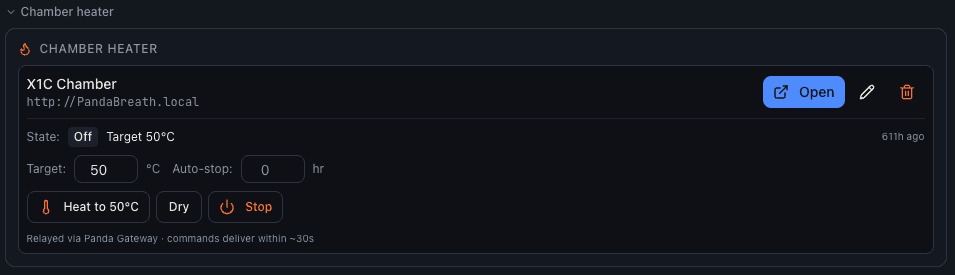
Need to change any of this later? Click the pencil on the heater tile to edit the name, LAN URL, which printer it's mounted on, or its relay device.